

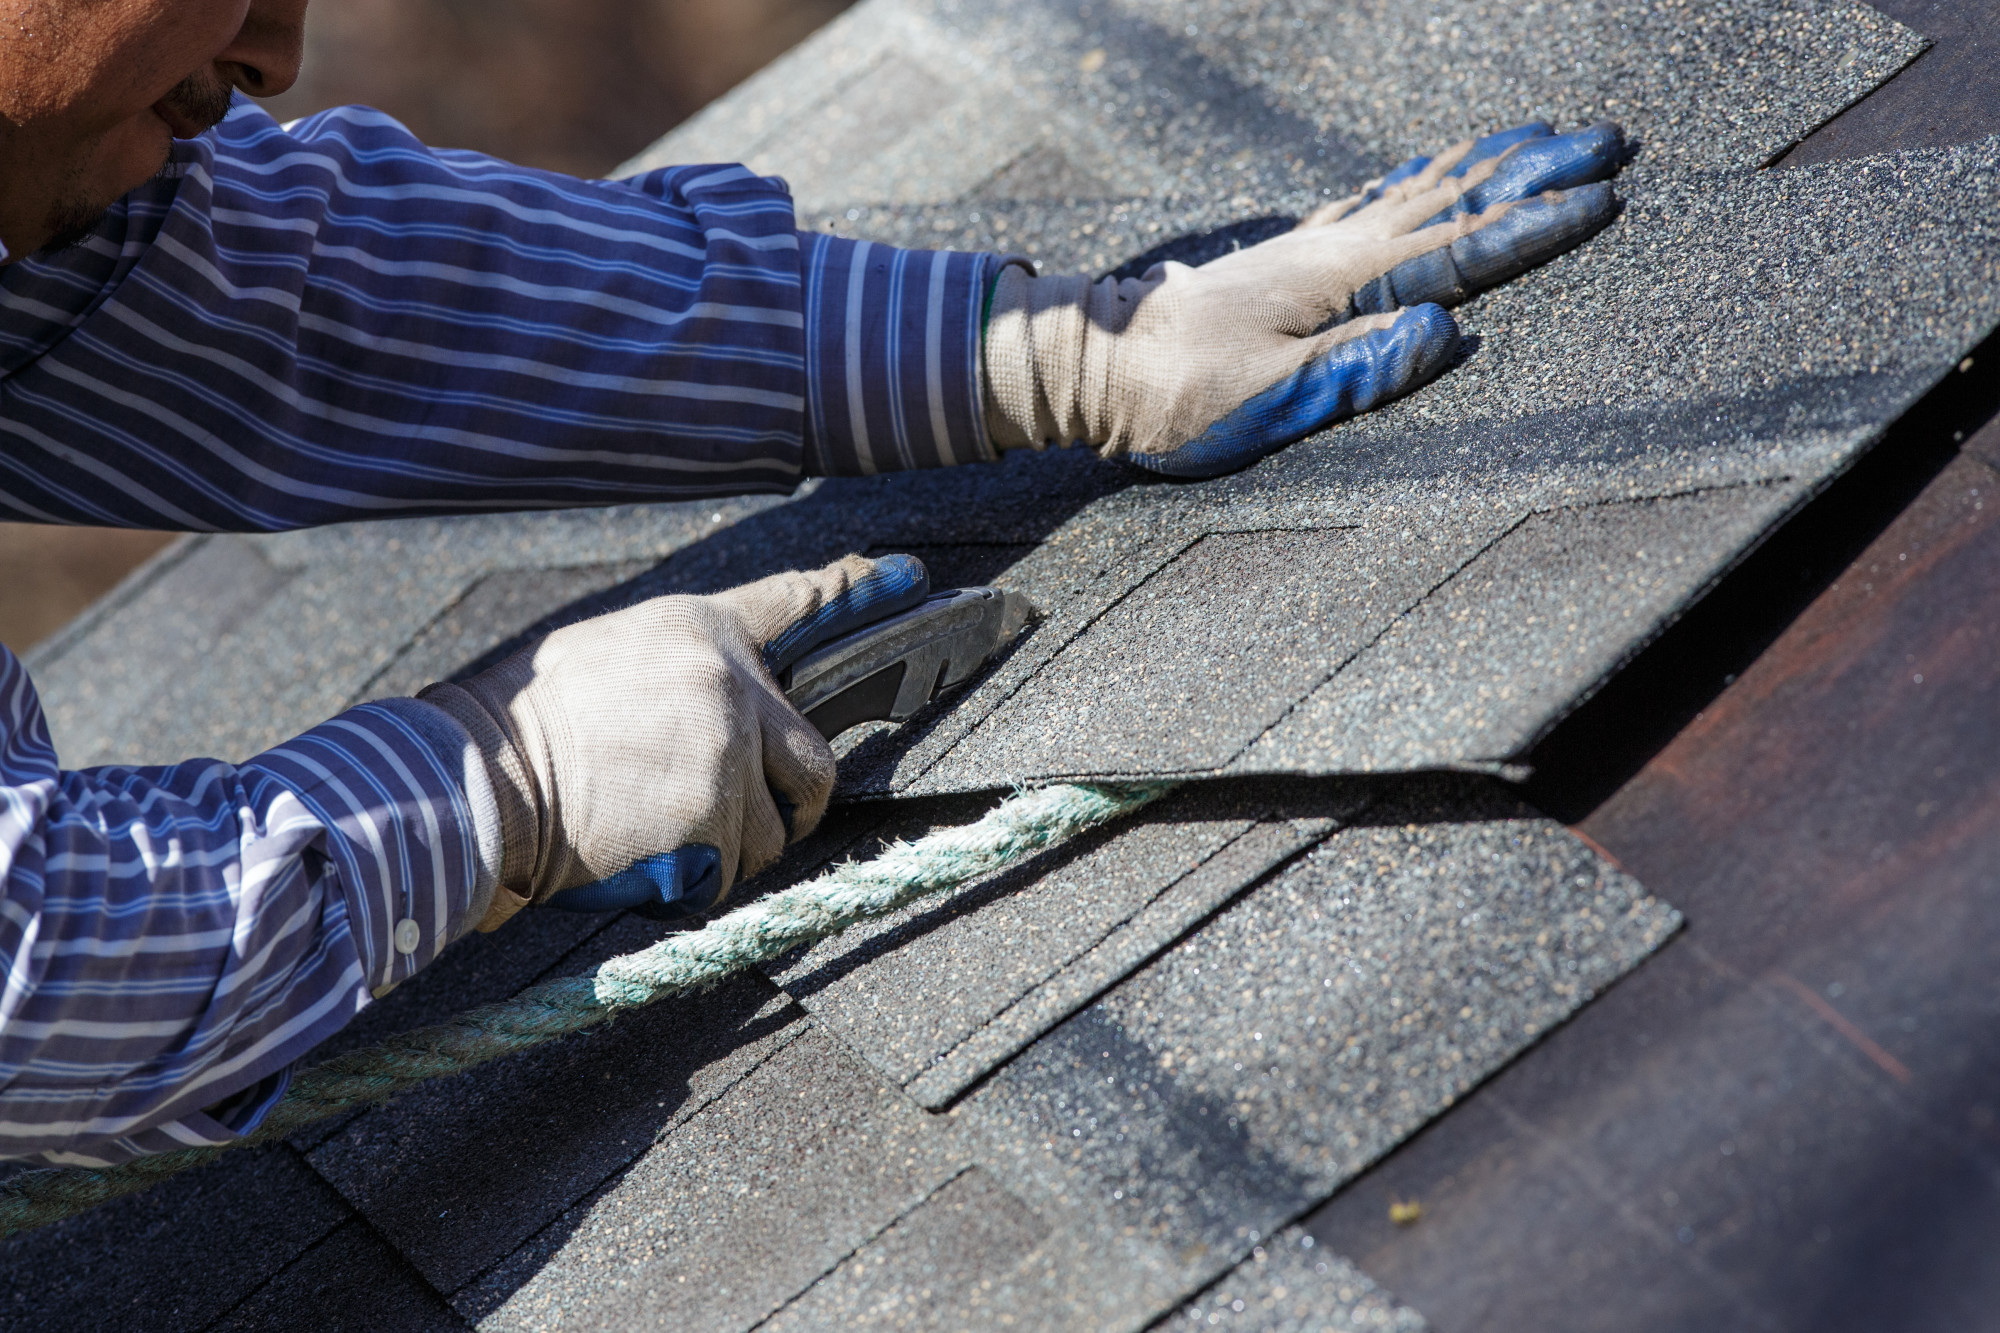
In order to fit properly shingles are cut.
The average asphalt shingle roof can last as long as 20 years with proper care and maintenance. However, even minor damage to your roof can shorten its lifespan quickly.
The best thing you can do is repair damaged shingles as soon as you notice them. However, if you’re like most homeowners, you’re not quite sure where to start or how to handle the process.
Here’s what you need to know about how to reshingle a roof so you can keep your home safe and dry for years to come.
Inspect Your Roof
Before you can start figuring out how to reshingle your roof, you’ll need to inspect your roof for damage and identify the areas that need work. Grab a ladder and look at the roofline closely.
If you see shingles that are curling up, cracked, or otherwise damaged, you’ll want to replace them.
Make a note of how many damaged shingles you have on your roof. This will help you identify how many new shingles you’ll need to buy and how much waterproofing material you’ll need to use.
Choose Your Materials
Once you understand the extent of the damage, you’ll need to buy the replacement shingles. These are available at most local hardware stores.
Bring an old shingle with you so you can match the color and type. If you’re trying to install a completely new shingle roof, you’re free to choose whatever color you want.
If you live in a neighborhood with a homeowner’s association, make sure they approve of the colors and types of shingles you use. If they don’t, you could end up having to pay costly fines. Worse, you may need to remove the shingles you installed and replace them with versions they approve of.
Get Rid of the Damaged Shingles
Before you can install your new shingles, you’ll need to remove the old, damaged ones from the roofline. This is the most tedious part as you’ll have to remove each shingle individually.
Lift it up from the edge of the shingle gently. Using too much force will break the materials and make it harder to remove the shingles. It’s best to use a handheld prybar to lift the shingles up.
Once you do, you’re able to pry the shingle away from the roofline and remove it completely.
Do this for every damaged shingle on your roof. If you’re replacing the entire roof, you’re free to scrape them off at once using a tear-off shovel.
After getting rid of the old shingles, sweep away the debris as thoroughly as possible.
Add a Waterproof Barrier
After removing the shingles, you’ll need to protect the roofing deck from future damage. To do this, you’ll need to install a layer of waterproofing or roofing felt. This is enough to prevent excess moisture from soaking into the roofing deck.
Tack the felt down with a nail gun and make sure it’s smooth and taught against the roofline. Any gaps or wrinkles create access points for moisture, insects, and pests.
Map Out Your Shingle Placement
After you install the waterproofing, you’re ready to start mapping out where your new shingles will go. Use a chalk pencil or sidewalk chalk from your kids’ toybox to mark out the placement.
Remember to accurately measure the spacing so your new shingles will line up properly. You can use the surrounding shingles as a guide to help you make sure the placement works with the rest of the roof.
Install Your New Shingles
Installing your new shingles is the easiest part. Follow the manufacturer’s recommended installation method as closely as possible. This will help ensure that the shingles do their job without suffering premature damage.
Remember to be gentle with the new rooftop shingles as you install them. If you crack the ends or damage the fasteners, you’ll need to start over.
If at any point you find that you’re stuck or aren’t comfortable installing new shingles on your own roof, contact your local budget friendly roofing contractor. They’ll be able to replace the damaged shingles quickly.
Recycle Your Old Shingles
Once your new shingles are in place, you’re ready to get rid of the waste. Gather up your old shingles and place them in your trash bin. Then, walk around the exterior of your house and look for any misplaced roofing nails and other debris.
Pick up what you can and dispose of them properly.
Depending on where you live, you may even be able to recycle your old shingles. Contact your local recycling center to see if they can help.
When in Doubt, Leave It to the Pros
Replacing roof shingles is time-consuming and it’s easy to accidentally damage the rest of your roof if you’re not careful. If you’re not completely confident in your ability to replace damaged rooftop shingles, contact a local roofer as soon as possible.
They’ll inspect your roof for damage that you might miss which can further protect your home from water, mold, mildew, and pest infestations.
Keep in mind that it’s always best to shop around for a roofer you can trust. Get written estimates from each company and choose the contractor that offers you the highest quality workmanship at a price you agree with.
Now You Know How to Reshingle a Roof
Dealing with roof and water damage is the last thing any homeowner wants to do. However, once you know how to reshingle a roof, you’ll be able to handle most minor repairs quickly and easily.
Keep this guide handy and you’ll be in good shape when the time comes to replace a damaged part of your roof. Remember that it’s okay to reach out to a professional if you feel overwhelmed or aren’t comfortable working on your roof.
Looking for more helpful tips to make home maintenance simple? Check out our latest posts.