

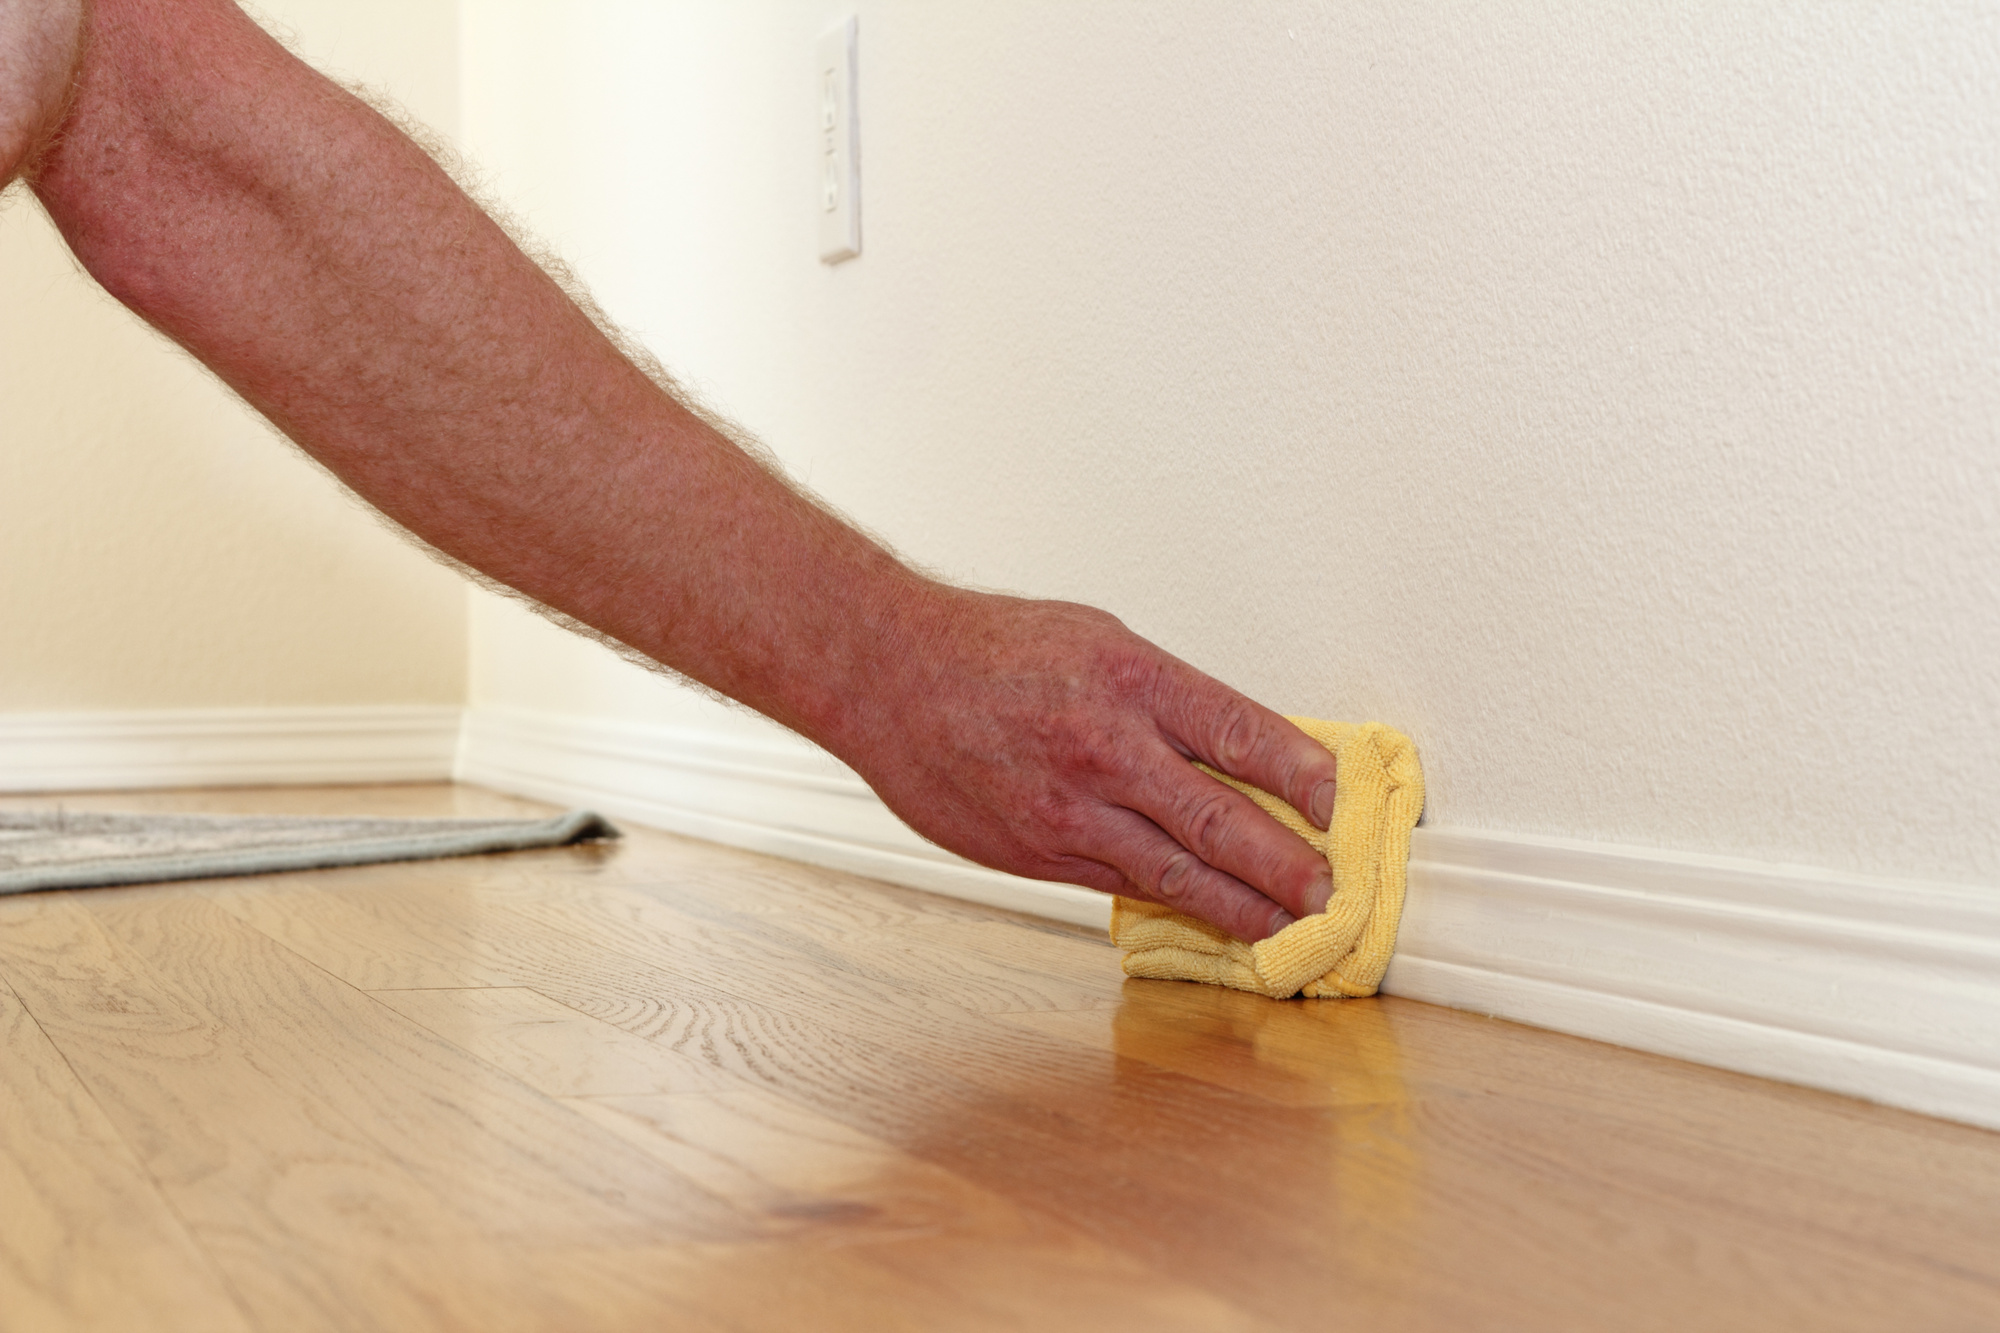
Male caucasian hand and arm seen wiping a folded yellow rag along the lower white wall trim near the wood floor to remove dust.
Your inner state reflects your environment. Studies show that living in a clean space leads to feeling happier and more peaceful. It is even suggested that people that prioritizing cleaning can increase empathy and socially committed.
Living in a clean home can produce peace and harmony in other ways as well. Household chores are one of the most common sources of disagreements between couples and spouses. Many report it being a common source of arguments.
Keeping up with the cleaning often seems like an insurmountable task. This is especially true when it comes to deep cleaning projects, like cleaning the baseboards.
We’re going to share some tips on how to make baseboards look like new again. In some instances, some baseboards sustain some damage due to everyday wear and tear. We’ll show you how to tackle some minor baseboard repairs, as well.
How to Make Baseboards Look Like New Again
Baseboards don’t get cleaned all that often, a lot of the time. That can lead to heavy accumulation of grime and dirt. We’ll start by showing you how to make baseboards look like new with cleaning. Then we’ll get into some repairs you might need to make, as well.
How to Deep Clean Your Baseboards
If you haven’t cleaned your baseboards in a minute, you might need to really dig in with some heavy-duty cleaning to return them to their pristine state. The good news is that you don’t have to do this all that often, as the results tend to last a while.
Begin by moving all of the furniture away from the walls so you’ll be able to access your baseboards. Make sure you have all of your cleaning supplies ahead of time, as well, so you can get straight to work once the baseboards are exposed.
You’ll need some microfiber cloths, some sort of towel, and a bucket full of warm, soapy water. You can also use the brush extension of your vacuum hose if you have one. Keep in mind it won’t get your baseboards nearly as clean as soap and a washcloth, however.
If you’re going to be using soap and washcloths, you may want to have some sort of knee pads or towel to kneel on. This will make cleaning your baseboards much less painful than kneeling on hard floors.
To start, put a drop or two of dishwashing soap into a bucket of warm water. Roughly two quarts of warm water should do, for a moderately sized room. You may need to change your water once or twice, depending on how grimy your baseboards are.
When it comes time to wipe down your baseboard, make sure that your microfiber cloth or sponge is damp but not dripping. A damp cloth is exponentially better at clean than a sopping wet rag.
Make sure to spend some extra time and attention on corners and other nooks and crannies like baseboard registers.
After you finish deep cleaning your baseboards, you may want to put some fans on the baseboard to help it dry more quickly. That way you can move your furniture back as quickly as possible.
How to Restore Baseboard
Once you remove the layer of grime that often builds up on baseboards, you may notice other blemishes that prevent your baseboards from looking their best. Don’t worry; there are all kinds of ways to fix minor damages to trim and baseboard without having to replace all of it.
Peeling or chipping paint is one common cause of baseboard not looking its best. Luckily, it’s also relatively easy to fix, even if it can be somewhat time-consuming.
Scraping or sanding the existing coat of paint is the easiest and best way to return your baseboard to its natural state. If it’s relatively minor, you could potentially sand down the affected area with a fine grain sandpaper. Then you can simply repaint the damaged area if you happen to have any of the trim paint around still.
It’s more common that you have to sand or scrape an entire room, however. A paint scraper is going to be your best bet, in that instance. It can take an eternity to sand an entire room by hand.
Finishing nail and tack holes are another common damage that baseboards often sustain. After you’ve cleaned and scraped your baseboards, you should be able to see these holes more clearly. Go through and fill them with wood putty.
After the wood putty’s dry, go through and wipe down all of the baseboards with a semi-coarse finishing pad. This roughens up the finish, making it more porous and able to absorb new stain or paint. It also helps ensure a consistent coat or stain across an entire room.
Once you’ve roughened up the stain, it’s time to put on a fresh coat of stain or paint. It should go on smooth and easy, as you’ve puttied all of the holes and removed all of the unevenness. It should be easy and painless to restore your baseboard to its former glory, and it looks great once you’re done!
After you’ve deep cleaned your baseboards and made these minor repairs, it takes next to no work to keep them clean. It turns a major duty into a minor chore. It’s one more thing off of your mind, so you can simply enjoy being at home and appreciate your loved ones and free time.
Want to Know More About Home Improvement?
Our homes are our castles. Don’t you want to enjoy your time spent at home as much as possible?
Now that you know more about how to make baseboards look their best, browse the rest of our home improvement articles today for even more home inspiration!