

Your Choice Of Wooden Gate
Wooden gates are extremely versatile and are a great choice if the aesthetic is important, as wood can be stained to achieve a certain finish or painted any colour to fit into any style you are trying to create. Wood can also be incredibly sturdy and durable, but you will need to factor in the type of wood your gate is made from. Hard woods are generally more durable (but more expensive), but whatever type of wood you go for you will need to ensure it has been properly treated prior to use.
As you might expect, wooden gates are unlikely to be as sturdy and durable as steel or aluminium gates and they will require regular maintenance to ensure longevity. Wood is a natural, organic material that will expand when the weather is hot, as well as absorbing moisture when it rains. Wood treatments combat this and the possibility of infestation by insects but you will always need to ensure levels of protection are maintained.
As for the style of wooden gate you choose, there are almost limitless options to choose from. The style might be dictated by aesthetics or practicality. A specific gate configuration might be better for say, confining cattle or keep pests out. A more bespoke gate might be for primarily decorative purposes. Most good fencing suppliers (https://mcveighparker.com/gates/wooden-gates) supply a wide range of wooden gate styles to choose from.
As for sustainability, wood is a better choice than metal, but you need to ensure you know the provenance of the wood your gate is made from and check this with your supplier. Really good information on this subject can be found on the Forest Stewardship Council website (https://uk.fsc.org/what-is-fsc)
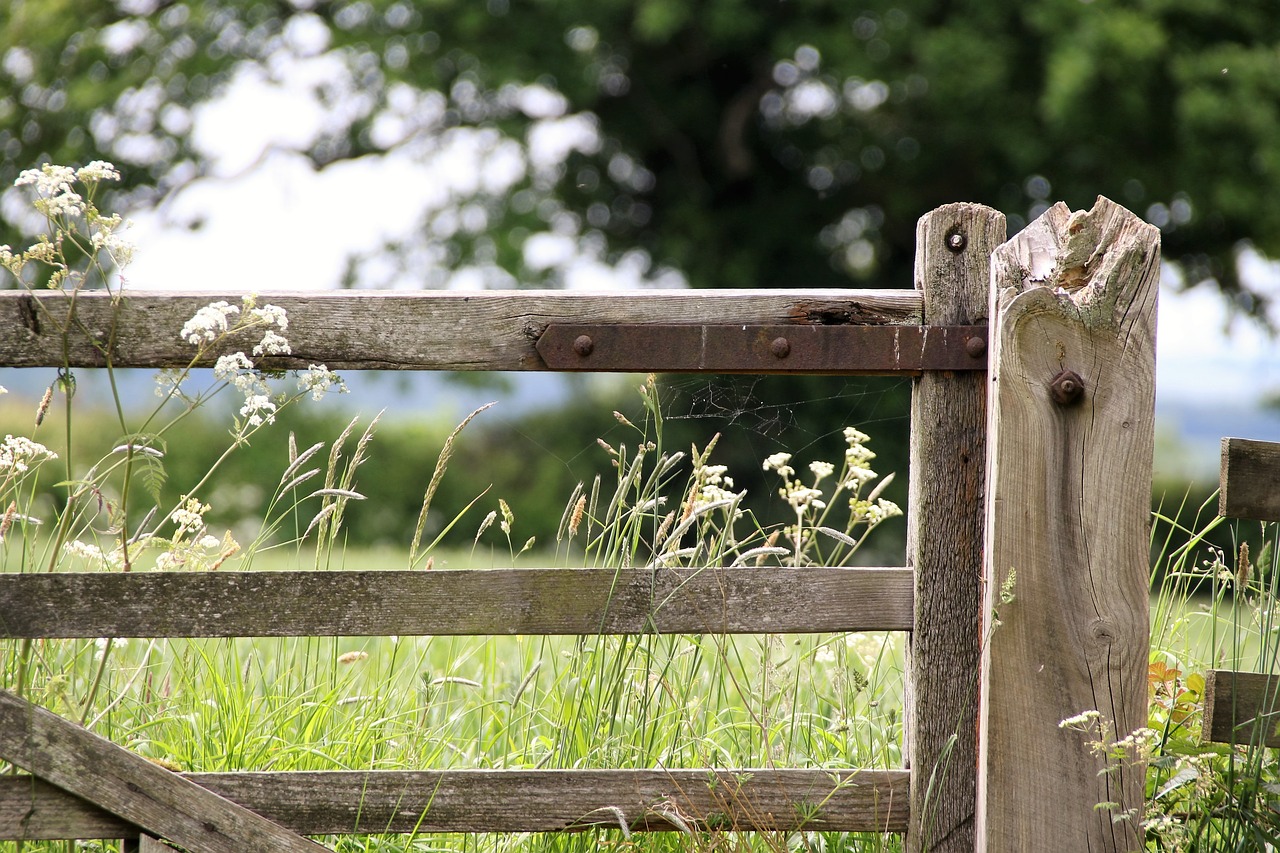
Posts & Fittings
If you are hanging a wooden gate you will probably want to hang it from wooden gate posts. You will also need to consider what gate fittings will be required for both to hang and secure your gate. Wooden gate fittings options include hinge hooks, rising field gate hinges, easy latch, t-hinge, self-closing, spring catch, auto catch, pad bolt and bolt on wheel supports.
Positioning new wooden gate posts
There are two ways to hang a gate – either on the backs or between the posts. Normally gates are hung on the backs of posts but some situations require that they should be hung between; this allows the gates to be opened in both directions. In either case, the posts must be placed accurately according to the width of the gate and making allowances for the fittings being used. You will need to calculate the distances between the posts as well as establishing what fittings will be required.
Also, be aware that slightly different arrangements are necessary when either BG rising hinges or an offset bottom hinge set are used. Ideally your gates should hang around 5 cm off the ground and this height will be determined by the positioning of the hooks on the post, so always take extra care to ensure your positioning measurements are accurate.
Installing The Posts
To install the posts you will need to excavate the ground for the posts with a post hole spade. This has a narrow blade and is well suited for displacing the minimum amount of material and creating a more stable installation. When digging, should removing soil become difficult, you should utilise a post hole digger tool that consists of two small spades hinged near the base. You simply insert it into hole, pull the poles apart and remove the debris.
If, when digging, you hit roots or large stones you will need to remove these, and a heavy blade and a lot of manual effort will help get rid of these. As you dig down you need to continually check the depth and width of the hole. When you slide a post into the hole you will need to make sure there is around 5cm of clearance all the way around the post, especially if you are planning on using coarse aggregate.
Use a level to ensure your posts are straight and a piece of string attached between posts makes sure they are the right distance apart. In terms of fixing the posts in place, once you have dug the holes to the right depth, there are various options including the use of fast-setting ‘postcrete’ which is sold in pre-mixed bags of the right quantity for fixing each post. Alternatively, use bagged coarse drymix to fill the hole around the post. This is a mixture of cement and aggregates in the proportion of 1:2:4. However, this will take some time to go hard. The soil and debris removed from the hole can also be packed back into the top of the hole and pressed down to ensure a good finish.
Once your main post is installed (and bear in mind this needs to handle the biggest burden and load) and properly in place, you will need to install the hinges on which to hang your gate. As mentioned above, these vary according to your requirements, but a common choice would be a simple ‘hook hinge’. You should start with the bottom hook hinge, as once this is installed, it will make it easier to support the gate upright as you progress to the next stages of fitting. Always remember that the height of the hinge from the floor is determined by the clearance you require below the gate. Always leave at least 5cm so that there are no closing issues especially on uneven ground.
You must carefully measure the distance between the top and bottom eyes of the gate hinges, and you use this dimension to mark where the top hole is to be drilled. Hook hinges come in different designs and strengths. You need to ensure you select the most appropriate match for the size and weight of your gate.
Attaching the hinge to a heavy wooden farm gate usually involves bolts that are fixed by inserting into a hole right through the post in the appropriate place. Although, for small garden gates, the hinges might be attached directly onto the surface of the wooden gate post. To attach a bolt like this you will need to drill a hole slightly larger than the bolt itself so it inserts easily. Check from time to time that the brace is being held parallel and level to the post. Slide the hook in upside down until the thread appears on the far side. Thread the nut and slowly tighten, ensuring the hook doesn’t twist. Measure so that both hooks project from the post the same distance.
With both hook hinges fitted, the gate can be offered up after first removing the top hinge eye from the gate. Lift the gate onto the bottom hinge hook and place the top eye over the hook. Tilt the gate upwards to realign the hinge eye thread with the hole in the top of the gate. Replace the washer and nut and tighten. Tighten the eye hinge until the gate is level in the closed position. Open the gate to see if it catches on any rising ground. If so, tighten the top hook hinge further until clearance is achieved. Once the main post is in place you can carefully and accurately position the second post for securing the gate.
Close the gate and mark where the second post will go with the catch in the centre.
Finally, fit the gate hook or other closure and for added security, perhaps fit a sturdy padlock and chain around each post.